Step-by-step gravel shed foundation
A timber-framed pad of compacted crushed stone is the cheapest shed base that drains well and stays level. With a helper and a rented compactor, most people finish it in a weekend.
The quick answer
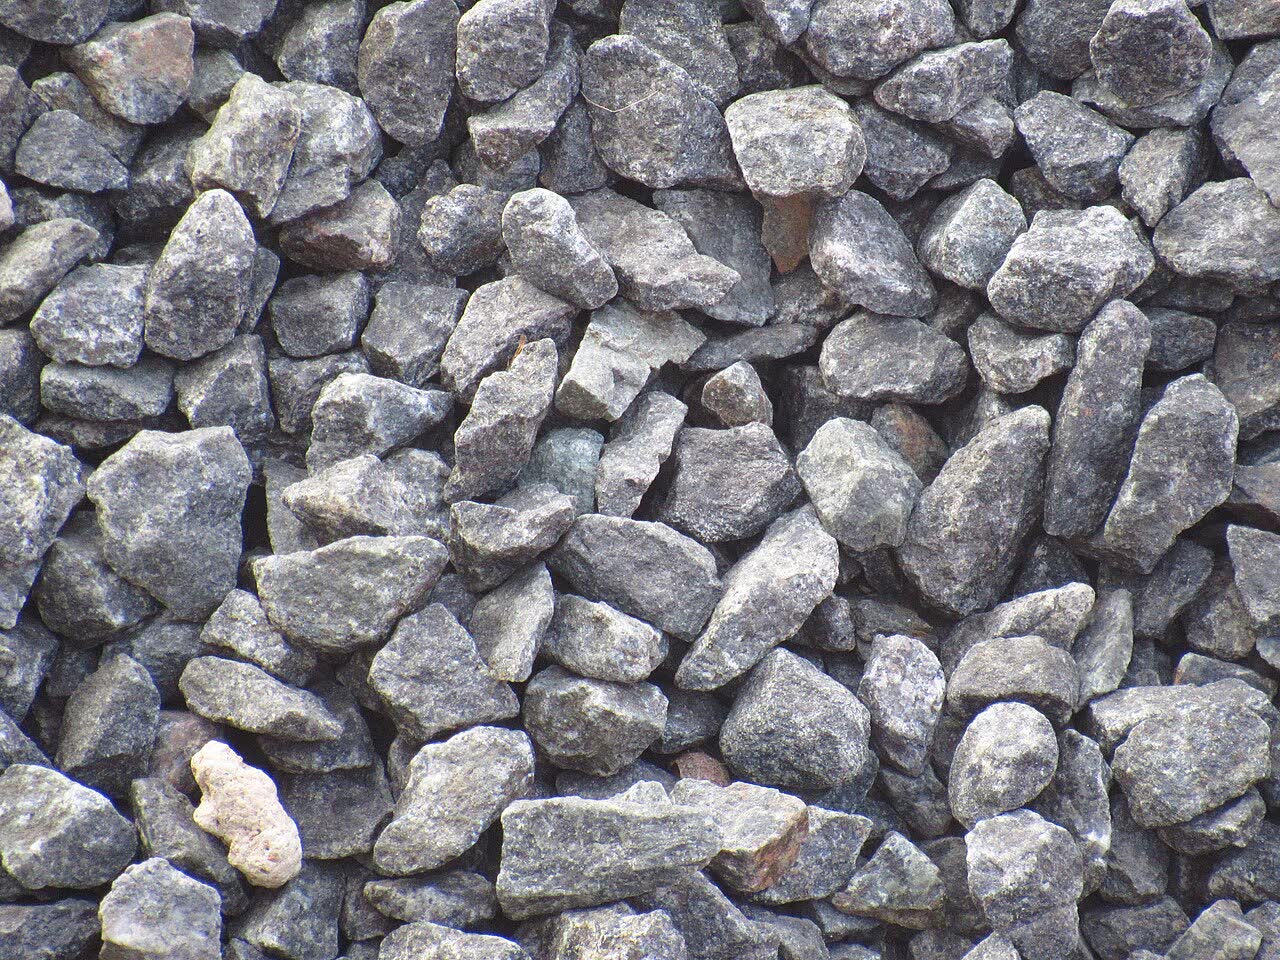
Make the pad 1 ft bigger than the shed on every side. Dig out the turf, build a frame from 4×6 pressure-treated timber rated for ground contact, pin it with rebar, line it with landscape fabric, then fill it with ¾ in angular crushed stone compacted in two layers to 4–6 in deep. Rake it level with the top of the frame and set the shed on it straight away.
Gravel bases work because water drains straight through them instead of pooling under the floor, which is what rots most sheds from the bottom up. They’re forgiving to build, need no curing time and cost a fraction of a concrete slab. They suit most wooden, metal and resin sheds that have their own floor.
They’re not the right choice for a heavy workshop with machinery on it, a shed with no floor of its own, or ground that floods. If that’s you, a concrete slab is worth the extra money.
How the layers work
Every layer has one job. Skip one and you’ll usually find out within a couple of winters.
- 1Shed floor on pressure-treated skids, raised off the stone so air can move.
- 24×6 ground-contact timber frame holds the stone in.
- 3¾ in angular crushed stone, compacted in two layers.
- 4Landscape fabric keeps weeds and soil out of the stone.
- 5½ in rebar pins stop the frame creeping.
- 6Firm, level subsoil with the turf and topsoil removed.
Materials & tools
Quantities below are for a 10 × 12 ft pad, which suits an 8 × 10 ft shed. Scale the stone up or down with the area.
Materials
- 4×6 pressure-treated timber, ground-contact, 12 ft2
- 4×6 pressure-treated timber, ground-contact, 10 ft2
- ¾ in clean crushed stone≈ 2.3 cu yd
- Woven landscape fabric12 × 14 ft
- ½ in rebar, cut to 24 in8 pieces
- 10 in structural timber screws8
- Landscape fabric staples1 pack
Tools
- Spade, shovel and garden rakeown
- Wheelbarrowown / borrow
- Plate compactor (or hand tamper)rent
- 4 ft spirit level and a straight 2×4own
- Stakes, mason’s line, tape measureown
- Drill with ⅝ in auger bitown / rent
- Circular saw and sledgehammerown / borrow
Stone weighs roughly 1.4 tons per cubic yard, so 2.3 cu yd is a little over 3 tons. Order about 10% extra: it settles as you compact it.
The eight steps
-
Check the rules, then pick the spot
Before you dig, call 811 (or your local utility-locating service) so buried lines get marked; it’s free and usually takes a few working days. Check setbacks from fences and your house with your town or HOA, and whether your shed size needs a permit.
Choose the flattest, best-drained part of the yard, out of any low spot where water collects. Leave at least 2 ft of space around the shed so you can reach every wall to paint and repair it.
-
Size the pad and mark it out
Add 1 ft to every side of the shed’s footprint: an 8 × 10 ft shed gets a 10 × 12 ft pad. That margin keeps rain dripping off the roof landing on stone, not soil.
Drive a stake at each corner and run mason’s line between them. Measure both diagonals: when they match, the layout is square.
Neighbour’s tip: use the 3-4-5 rule on one corner first (3 ft along one line, 4 ft along the other, 5 ft between the marks) and everything else falls into place.
-
Dig out the turf and level the ground
Strip the sod and roughly 4 in of topsoil inside the lines. Find the highest corner and level everything to that, using your 2×4 and level. Tamp the exposed soil firm.
On a gentle slope, dig into the high side rather than building up the low side: undisturbed soil is firmer than fill. If the ground falls more than about 6 in across the pad, plan a second course of timber on the low side.
-
Build the timber frame
Cut the 4×6s to length and lay them in the trench on edge, so the frame stands about 5½ in tall. Overlap the corners and fix each one with two 10 in structural screws.
Check level along every side and corner to corner, then measure the diagonals again. Small adjustments are easy now: scrape soil out from under a high spot rather than packing it under a low one.
Buy the right timber: look for a ground-contact rating on the end tag. Lumber rated “above ground” will rot at the base within a few seasons.
-
Pin the frame with rebar
Drill ⅝ in holes straight down through the timber, about 1 ft from each corner and at least every 4 ft along the long sides. Drive a 24 in length of ½ in rebar through each hole until it sits flush with the top.
-
Lay the landscape fabric
Roll woven fabric across the soil and run it a few inches up the inside of the frame. Overlap any joins by 12 in and staple the edges to the timber. Woven fabric lets water through but keeps weeds and soil out of your stone.
-
Fill and compact the stone in two layers
Use ¾ in clean, angular crushed stone: the sharp edges lock together when compacted. Spread the first 2–3 in, run the plate compactor over it two or three times, then add the second layer and repeat until the stone sits level with the top of the frame.
Don’t use pea gravel. Round stones roll against each other and never lock, so the shed slowly settles out of level.
-
Screed it level and set the shed
Drag a straight 2×4 across the top of the frame to strike off the high spots, fill any hollows and give it a final pass with the compactor. Check with the level in several directions.
There’s no curing time, so the shed can go on the same day. Make sure its floor sits on pressure-treated skids or joists so air can move underneath, then check that the doors open and close freely before you fix anything down.
What it costs
A sample estimate for the 10 × 12 ft pad above, with materials bought at a big-box store and stone delivered. Prices vary a lot by region and season, so treat these as a starting point and phone your local stone yard.
| Item and quantity | Low | High |
|---|---|---|
| 4×6 ground-contact timber2 × 12 ft, 2 × 10 ft | $110 | $170 |
| ¾ in crushed stone, delivered≈ 3.2 tons | $180 | $320 |
| Woven landscape fabric12 × 14 ft | $20 | $40 |
| ½ in rebar8 × 24 in | $15 | $30 |
| Structural screws & staples1 box each | $25 | $40 |
| Plate compactor rentalHalf day | $50 | $90 |
| Sample total | $400 | $690 |
Where the money goes: stone and delivery are usually the biggest line. If you can collect stone in a trailer, or share a delivery with a neighbour, that’s the easiest saving. A hand tamper instead of a rented compactor saves the rental but costs you a sore afternoon and a slightly less solid pad.
Questions people ask
How deep should a gravel shed base be?
Aim for 4–6 in of compacted stone inside the frame. On soft or clay soil, go toward 6 in and consider two courses of timber so the stone has more depth to spread the load.
Is gravel better than concrete for a shed?
For most garden sheds with their own floor, yes: it drains better, costs less and you can build it yourself in a weekend. Choose concrete for a heavy workshop, a shed without a floor, or if the shed maker’s warranty asks for a slab.
Can I put a shed straight onto gravel without a frame?
You can, but the edges spread over time and the shed slowly drops out of level. The frame is what holds the stone in place and gives you a crisp, square edge to level against.
Do I need a permit for a shed base?
It depends on where you live and how big the shed is. Many places let small sheds go up without a permit, but setback rules still apply. A two-minute call to your local building department is cheaper than moving a shed.
How long before I can put the shed on it?
Straight away. Unlike concrete there’s nothing to cure, which is one of the best reasons to choose gravel.